
How to Present Your Work for Open Calls
You can spend days, weeks, or even months making a piece of art. You think about the colours, the materials, the composition, the smallest details. You photograph it, upload the file, fill out the application, and finally press submit.
And then there is the strange part: someone else has to encounter your work through a screen. They may see it for the first time as a tiny thumbnail. They may be looking at dozens of applications in one sitting. They may have only a few moments to understand what they are looking at before moving on to the next image.
This does not mean your work has to look “perfect.” But it does mean that how you present it matters.
Even at Arts to Hearts, we see how much thought artists put into their work, but we also see applications where a strong piece is let down by a blurry photograph, a screenshot taken from a gallery page, an image that is not cropped properly, or a file that will not even open.
None of these things say anything about the quality of the artist, but they can make it harder for the work to be seen properly.
So, before you submit your next open call, here are a few simple ways to make sure the presentation does your work justice. The piece you put so much soul, effort and care into, deserves to be seen in all its glory.
Start With the Artwork Photograph
The photograph is often the first thing a juror, curator, or editor sees.
That makes it more important than it might seem.
You do not necessarily need an expensive camera or a professional photographer. A good phone, some patience, and the right light can take you surprisingly far.
What matters most is that the photograph is clear, straight, well-lit, and faithful to the actual work.
Give Your Work Good Light
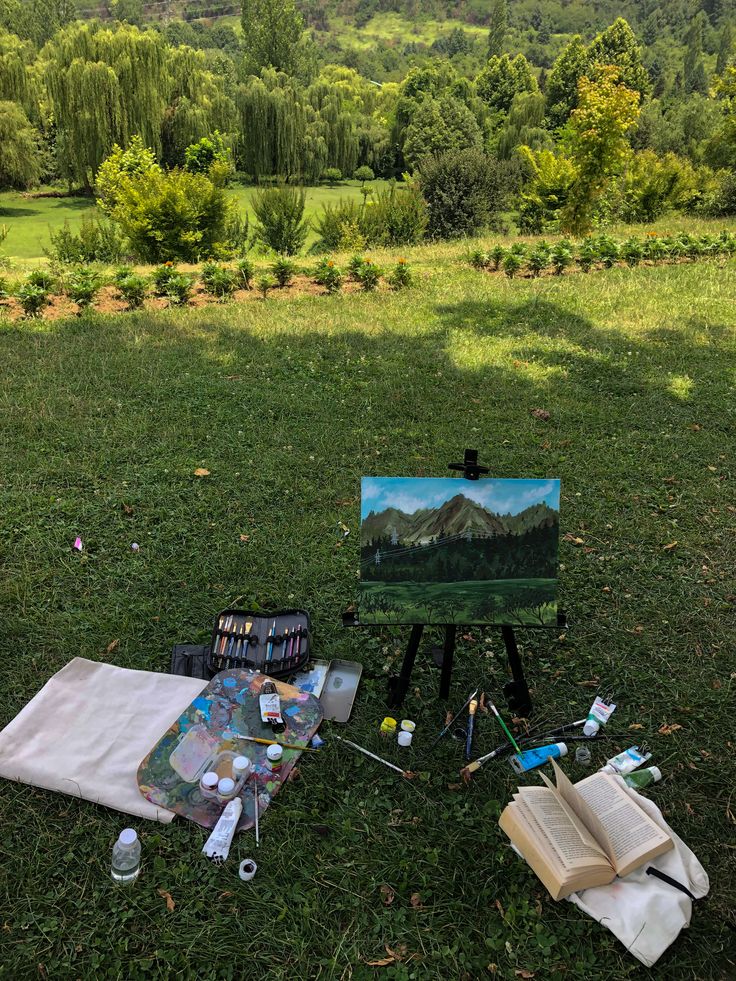
Natural daylight is usually a great place to start. If you can, photograph your work near a large window with soft, even light rather than directly under harsh overhead lighting.
Avoid using the phone’s flash. It can create bright reflections, flatten texture, and change the way colours appear.
For paintings with glossy surfaces, move the artwork and your phone around slightly until you find an angle without glare. You want the light to illuminate the work, not become part of the photograph.
And if you are photographing a textured or three-dimensional piece, take a second image from a closer angle if the open call allows additional views. That detail can help communicate something that a straight-on photograph cannot.
Keep the Camera Straight
This sounds incredibly simple, but it makes a huge difference.
If you photograph a rectangular painting from slightly above, below, or from the side, the edges can start to look crooked or distorted. One side may appear larger than the other, and suddenly the artwork itself feels less polished.
Your phone can actually help with this.
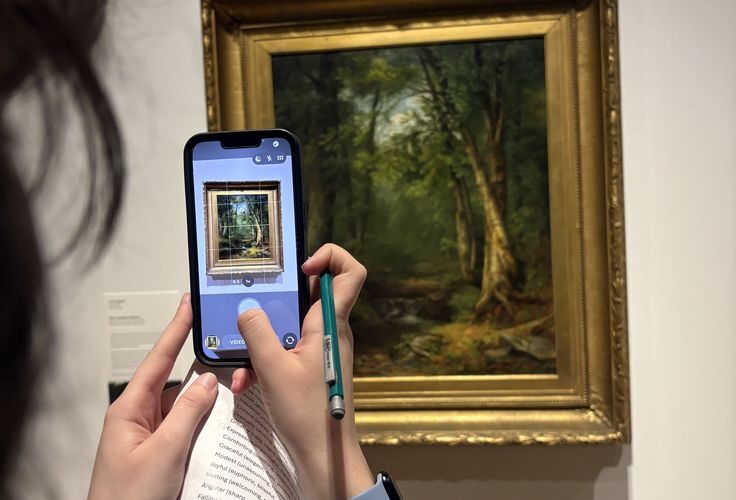
On iPhone, you can turn on Grid and Level under Settings → Camera. The grid helps with composition, while the level helps you keep the camera straight.
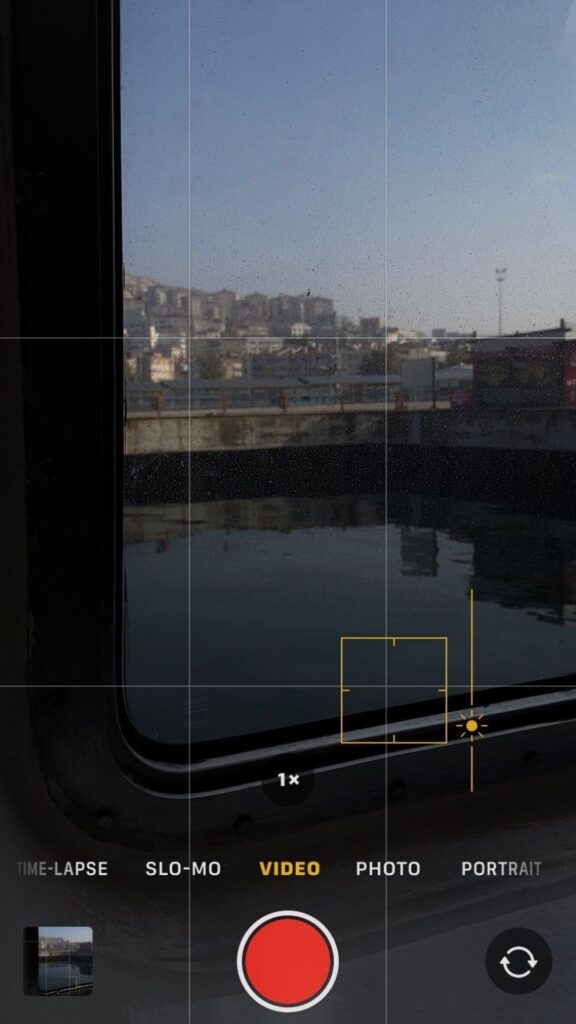
Many Android phones have a similar gridlines/grid feature in their camera settings. On Google Pixel, for example, it is found through the Camera settings under Grid type.
Use those lines.
Position the artwork so its edges run parallel with the lines on your screen. Keep your phone directly in front of the centre of the artwork rather than standing at an angle.
It only takes an extra minute. It can completely change the photograph.
Leave the Room Around It
This is another one we see often: an artist photographs a painting while it is hanging on a wall, but sends the photograph exactly as it was taken.
Suddenly, the application shows the artwork plus half the wall, a light switch, part of a frame, someone’s hand, or the corner of a room.
There is nothing wrong with taking the original photograph that way. It becomes a problem when that is the final image you submit.
After photographing your work, crop it so that the artwork becomes the focus. Do not crop so tightly that you cut off an edge, but do remove unnecessary surroundings. The viewer should immediately understand where the artwork begins and ends.
And please don’t submit a screenshot from a gallery website if you can avoid it. Screenshots often include browser elements, website buttons, captions, or awkward surrounding space. Go back to the original image whenever possible.
Pay Attention to Camera Settings
You do not need to become a professional photographer to improve your artwork photographs, but a few small choices help.
- Use the main camera rather than the front-facing camera. The main camera generally gives you better image quality.
- Avoid digital zoom. Instead, physically move closer to the artwork while keeping the entire piece in frame.
- Keep the lens clean. A tiny fingerprint across your camera lens can make an otherwise sharp photograph look strangely hazy.
- Use the highest practical image quality when taking the original photograph. You can always make a file smaller later, but you cannot recover detail that was never captured.
For the final submission, however, follow the open call’s exact file-size and format requirements. A beautifully photographed 20 MB file is not useful if the application specifically asks for a JPG under 5 MB.
And this brings us to something that deserves more attention than it usually gets.
Read the Submission Guidelines
When an open call says JPG or JPEG, submit a JPG or JPEG.
When it says maximum 5 MB, make sure your file is under 5 MB.
When it asks for a specific image size, follow it.
When it asks you to name your file in a certain way, do that too.
These instructions are not there to make the application process difficult. They are usually there because the organization has to process a large number of files through a particular system.
Sometimes, an incorrectly formatted file simply will not open. And if a juror cannot open your image, they cannot consider the work.
It is also worth opening your final file yourself before submitting it. Click it. Make sure the correct artwork appears. Check that it is not accidentally sideways, corrupted, dramatically compressed, or saved in the wrong format.
Think of it as the final proofread of your application.
Preparing your work for print? Before you send your files to a printer, it helps to understand the basics of paper, colour, resolution, and choosing the right printing method. Read our guide, “Everything Artists Need to Know About Art Printing,” to make more confident printing decisions.
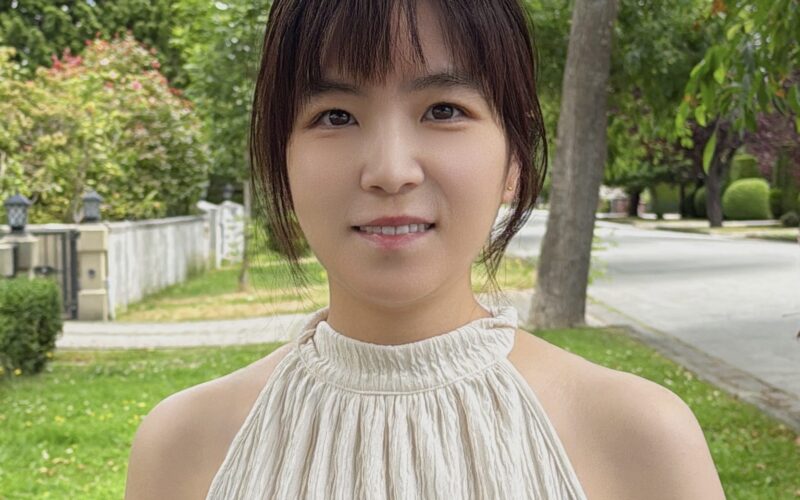
Your Artist Photograph Matters Too
Sometimes an open call asks for an artist photograph, and this part gets treated as an afterthought.
If an exhibition, publication, or editorial feature includes an artist profile, your photograph may appear alongside your work. A random selfie, a blurry cropped group photograph, or a picture from five years ago can suddenly become the image representing you.
You do not need a studio photoshoot. You simply need a photograph that looks intentional and feels like you. The art piece deserves a clear image of its creator too.
Ask someone to take a clear portrait in natural light. Choose a simple background. Make sure your face is visible and the image is reasonably high quality.
You can smile. You can look serious. You can wear what you normally wear. There is no single correct way to look like an artist.
The important thing is that you are giving the organization a photograph they can actually use.
And if an application asks for your artist statement, biography, website, Instagram, medium, location, or other details, try not to leave those fields blank unless they genuinely do not apply to you. It may feel like administrative work compared with making the art, but these details are part of how your work is understood and presented. Signing up to be a part of an open call comes with these requirements naturally.
Want to Give Your Online Presence the Same Care?
An open-call application may be someone’s first introduction to your work, but your artist website is often where they go when they want to see more. If you are wondering what a curator, collector, gallery, or even a curious visitor is actually looking for once they land on your site, take a look at our guide to 10 Things Visitors Want to Find on Your Artist Website.
A Few Tools That Can Make This Easier
You do not need Photoshop to prepare an open-call submission.
For simple file preparation, there are several useful tools worth knowing.
TinyPNG is useful when your photograph is too large to upload. It compresses JPG and PNG files while trying to keep the visual difference minimal, and its free web compressor currently allows up to 20 images at a time, with each file up to 5 MB.
Adobe Express has a free background remover that can be useful for artist portraits or other images where you need a cleaner background. It accepts common formats including JPG, PNG, and WebP.
Photoroom is another simple option for removing or changing backgrounds, and its background remover is available as a free utility.
For artwork itself, though, remember one important rule:
Do not use editing tools to make the artwork look different from reality.
Correcting the crop, straightening the photograph, adjusting a small exposure issue, or reducing file size is one thing. Changing the colours until they look more vibrant than the original, removing imperfections from the artwork, or digitally altering the piece is another.
The goal is not to make the photograph prettier than the artwork. The goal is to make the photograph honest to the artwork.
Before You Press Submit
Take one last look at the application as if you were seeing it for the first time.
Does the artwork photograph immediately make sense?
Is it straight? Is the entire work visible? Is the image clear enough to see the details?
Is the background distracting? Does the file open? Is it the correct format and size?
Did you actually fill in every required field? Did you upload the right artist photograph?
Did you spell your name and artwork title correctly?
These things can feel small when you are sitting at your desk, especially after spending so much more energy on making the work itself.
But an open-call application is the bridge between your studio and the person who may eventually see your art.
You have already done the hard part: you made something worth submitting. Now give it a presentation that lets someone else see it with the same care it was created.
Editor’s Note
If you’ve been thinking about sharing your work beyond the studio, here’s another opportunity to consider. Submissions are now open for our latest 101 Art Book: Faces Edition, celebrating artists who explore the many ways we see, remember, and interpret the human face. If faces are part of your practice, we’d love to see what you create. Submit your work and become part of the next edition.