


The Best Ways To Sell Art At Pop-up Events

👁 231 Views
Selling Art at Pop-Up Events (Without the Panic)
There’s a particular kind of buzz that comes with pop-up events, it’s not just the crowd or the chaos, it’s the thrill of showing up for your art. These short, energetic windows offer something many gallery shows don’t: real-time reactions. You see someone pause in front of your painting, lean in, smile. That moment is gold. That moment sells art.
Pop-ups put you in the mix. They’re not about exclusivity, they’re about exchange. You show your work, sure, but you also trade stories, ideas, maybe even snacks with your booth neighbor. There’s a beautiful democracy to it. Whether it’s a community market or a curated art fair, these events can amplify your visibility, boost sales, and build real-world momentum for your creative practice.
So, how do you actually prepare for one? What’s worth packing, planning, printing? This guide is your go-to. From layout tips to talking points, we’re digging into the best ways to make your pop-up setup as powerful, and enjoyable, as possible. Because let’s face it: when you feel good behind your table, your art shines even brighter.
Bring Your Greatest Hits, Not Your Whole Studio
Think of your pop-up display as a highlights reel, not your full filmography. Aim to show 6 to 12 pieces that represent your style while working together as a unit. You want each piece to stand alone, but also feel like it belongs in the same world. That kind of cohesion helps buyers connect with your voice.
If you dabble in more than one style, try grouping them clearly. Use small dividers, signs, or different table sections to visually separate bodies of work. It helps people make sense of your range without confusion. You’re creating a visual journey, not a jigsaw puzzle.
And yes, resist the urge to overfill your table. Empty space can actually draw more attention to your work. Let your pieces breathe. A cluttered setup feels overwhelming, while a clean one invites curiosity.
Don’t forget to bring backup stock, but tuck it away neatly. Store extras under the table or behind your booth. Stay organized so you can restock smoothly when needed without disrupting your space.
Also, keep a quick-reference inventory sheet. It helps you track what’s sold, what’s displayed, and what’s still in reserve. Bonus: it makes end-of-day wrap-up a breeze.
Prices? Keep Them Friendly and Visible
Pricing can be a sticking point for buyers, so take the mystery out of it. Use clear, easy-to-read tags or signs. You might even place a framed pricing list near the front of your booth. That way, people can browse comfortably without needing to ask.
Tiered pricing signs like “Prints from $20, Originals from $200” give buyers a quick overview. It helps them self-select what they can afford while keeping the door open for a range of purchases. That clarity builds trust.
Be confident in your pricing, but also mindful of the event. Adjusting slightly for the pop-up scene isn’t underselling, it’s understanding your audience. A weekend art fair might not support the same prices as a gallery opening.
When asked about a price, go beyond the number. Share the value. Tell a short story about the process or inspiration behind the work. It helps the buyer feel connected to the piece they’re considering.
Lastly, keep prices consistent across platforms. If someone checks your website later, make sure the numbers match. Consistency reinforces credibility.
Prep Like a Pro (Because Scrambling Isn’t a Vibe)
Before you even step foot in the venue, do a test run. Set up your entire table at home and take photos of the layout. It’ll make the actual setup smoother, especially if you’re short on time or help. Bonus points for labeling bins and bags for easy unpacking.
Make a checklist and double-check it. Essentials include a card reader, charger, business cards, price tags, signage, packaging materials, and a notebook. Throw in snacks, water, and comfortable shoes, you’ll thank yourself halfway through the day.
Create consistent labels for your art. Use cardstock or printed tags with the title, medium, size, and price. A uniform look shows professionalism and keeps you from having to answer the same questions over and over.
Need a sharp, polished takeaway? The Artist Series Catalog Template by Arts to Hearts Project is your secret weapon. It’s customizable and clean, perfect for showcasing work at events, or following up afterward.
Having a catalog makes you memorable. People flip through it, take it home, and think about you long after the event ends. It’s like a mini portfolio that works for you.
Talk About Your Work (Without Feeling Weird)
Talking about your art can be awkward, but it doesn’t have to be. Have two or three go-to lines ready about your work. Think of them as conversation starters, not sales pitches. Just enough to intrigue, not overwhelm.
Skip the academic lingo. Use real words. Something like, “This series started when I was experimenting with memory and movement,” is honest and engaging. People connect more with the why than the how.
If someone lingers at your table, try soft openers: “That one’s been a favorite today,” or “This piece was such a joy to make.” A little warmth goes a long way. You’re not selling a product, you’re sharing a piece of yourself.
And if talking’s tough, let your setup speak. Use artist statements, QR codes, or a beautiful catalog.
Practice helps, too. The more you talk about your work, the more natural it becomes. Think of it as flexing a muscle. Start small, build your comfort.
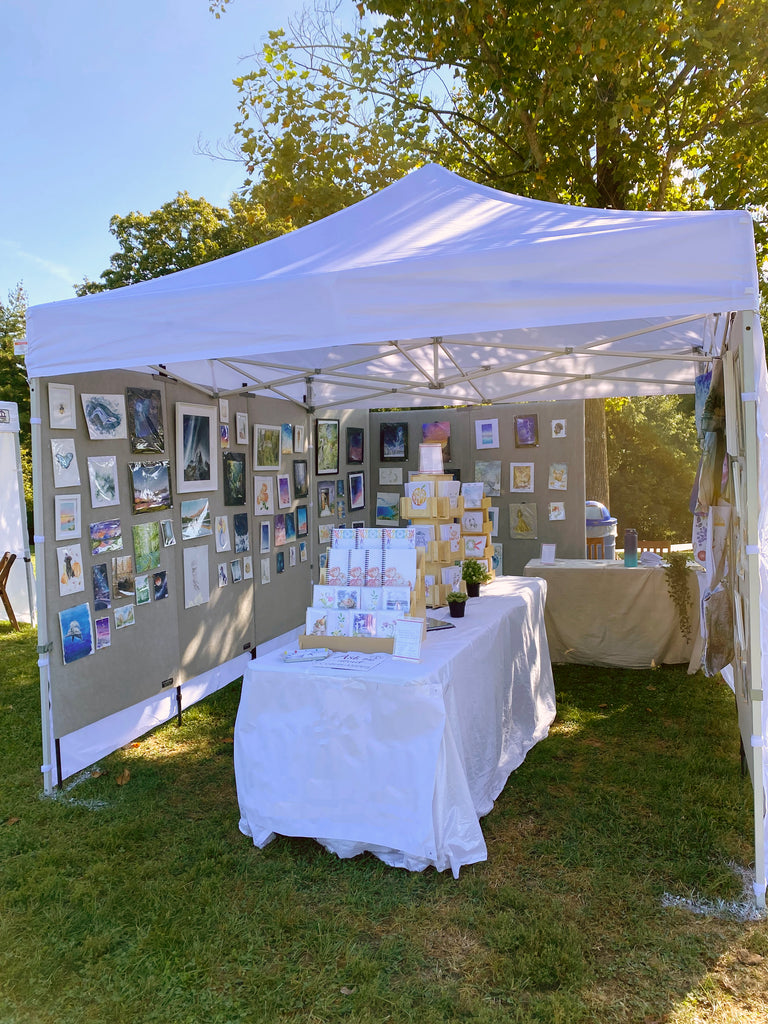
Create a Mini Gallery Vibe (Even on a Folding Table)
Make your booth feel like a space, not just a surface. Use tablecloths, risers, or crates to create height. Visual variety keeps people interested and helps each piece stand out.
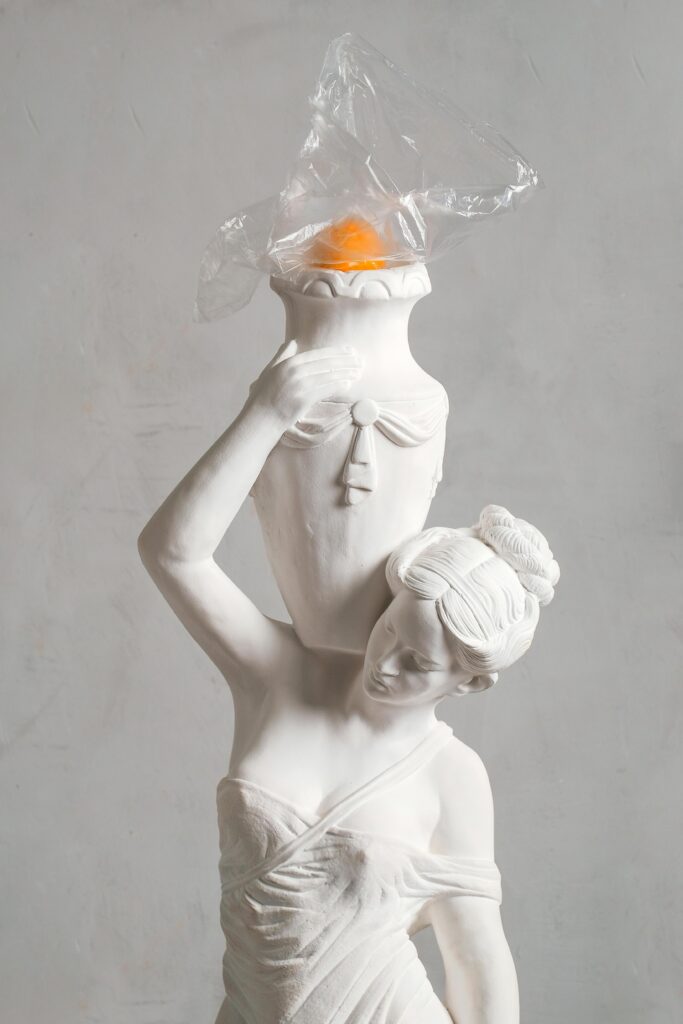
Layer textures. Add a vase, a lamp, or a few props that reflect your aesthetic. You want your space to feel lived in, not just functional. It’s a tiny, portable version of your studio or gallery.
Think vertical. Hang a few works if possible. Use easels, grids, or pegboards. Not everyone loves browsing a flat table. Giving eyes a place to land makes your space feel more inviting.
Bring a lookbook or portfolio binder for people to flip through. Even if they don’t buy, they’ll remember your vibe. That Artist Series Catalog Template works here too, it adds elegance and info all in one.
Design your space like you’re hosting an open studio: welcoming, tidy, and unmistakably yours.

Make Your Packaging Count (It’s Part of the Experience)
Great packaging doesn’t just protect your art, it enhances the moment. Think about how you want buyers to feel when they walk away from your booth. A thoughtful wrap job adds a little ceremony to the purchase.
Use kraft paper, tissue, or even custom-printed sleeves. You don’t have to go overboard, just choose materials that feel intentional. A small sticker with your logo or a thank-you note adds a personal touch that lingers.
If you’re selling prints, offer them in clear sleeves with backing boards. It keeps them safe and makes them easy to display once they get home. For originals, consider boxes or reinforced folders.
Don’t forget to include a business card, postcard, or mini catalog with each sale. It keeps your contact info close and invites repeat visits. That quiet follow-up can turn a one-time buyer into a long-time fan.
The goal is to make people feel like they got something special. Because they did, they supported an artist. And that deserves celebration.
Capture Contact Info Without the Ick
Staying in touch doesn’t have to feel salesy. Place a small sign-up sheet or tablet at your booth for people to join your mailing list. A simple “Want to see what I’m working on next?” is a low-pressure invitation.
Offer a small incentive, maybe a free desktop wallpaper or an early look at your next collection. Something light but meaningful. It’s a thank-you that also opens the door to future connection.
If someone buys from you, ask if you can email them a thank-you or behind-the-scenes update. This keeps your relationship going and builds trust. It also increases the chance they’ll buy again down the line.
Consider using a QR code linked to your newsletter signup or website. It saves time, looks professional, and avoids the awkwardness of typing in names during a busy event.
Keep your tone friendly and genuine. You’re not spamming, you’re inviting. And when it’s done right, people actually look forward to hearing from you.
Prepare for Wind, Weather, and Wobbly Tables
Outdoor pop-ups are charming, and unpredictable. Always bring weights for your table and signage. Nothing kills the vibe faster than your prints flying into a stranger’s latte.
If it’s sunny, bring a canopy or umbrella. Shade makes your booth more inviting and protects your work. You’ll thank yourself when the midday heat hits.
Pack a small repair kit: duct tape, zip ties, scissors, and clips. These save the day when a frame breaks or a display needs reinforcing. Trust us, you’ll use them more than once.
Consider clear sleeves or plastic covers for prints and paper goods. Even a surprise drizzle can cause damage. Being prepared makes you look pro, and keeps your art safe.
Weather-ready gear shows thoughtfulness. It tells buyers (and organizers) that you’re serious and reliable, no matter the conditions.
Support Your Neighbors, Build Your Community
Pop-up events are about more than just sales, they’re opportunities to connect. Take time to meet the other artists and makers around you. Compliment their work, trade cards, maybe even do a small collab.
These relationships can grow into creative partnerships, group shows, or even friendships. Plus, they create good vibes that spread throughout the event. Community energy sells more than any sales pitch ever could.
Consider promoting each other on social media during or after the event. Tag your neighbors, share their tables, and create a little buzz beyond your own booth.
When foot traffic is slow, having friends nearby makes the day more enjoyable. When it’s busy, having someone to watch your booth while you take a quick break is a lifesaver.
Building community makes events more than just transactional, they become memorable, meaningful, and fun.
Follow Up (Because the Real Magic Often Happens Later)
Not every conversation turns into a sale on the spot. That’s okay. Following up after a pop-up is where long-term relationships start. Reach out to people who showed strong interest or joined your mailing list.
A short, friendly email saying “It was great meeting you” can go a long way. Include a link to your shop or catalog, and maybe a discount code if that fits your vibe.
If you handed out a catalog or postcard, make sure your website is updated and your shop is easy to navigate. Give them a smooth path to purchase.
Consider posting a recap on your social media, highlighting the event, your setup, and a few behind-the-scenes moments. It reinforces your presence and invites post-event engagement.
Pop-ups are sprints, but follow-ups are marathons. The art world is built on staying connected, not just showing up once.
Pop-Ups Are Practice and Performance
Pop-up events are part theater, part training ground. You’re putting on a show, but you’re also learning what resonates. Each booth setup, each buyer conversation, teaches you how to refine your work and your presentation.
Don’t stress about being perfect. Focus on being present. Smile, make eye contact, and enjoy the experience. That genuine energy is more magnetic than the fanciest sign or table setup.
Keep notes after each event. What sold well? What questions came up? What would you do differently next time? These reflections build your event muscles and help you grow with each new opportunity.
And when it clicks, when someone lights up seeing your work and walks away with it, that moment is everything. That’s why you do it.